How to Style the Divi Theme Blog Module
For Divi Theme and Divi Builder users. This free tutorial on How to Style Divi Theme Blog Module has been made to help you work more quickly and save you time and money. In an easy to follow tutorial that you can come back to any time you get stuck you will find useful ‘how to’ instructions.
Introduction
In this tutorial, you will learn how to create good looking Divi Theme Blog module. The tutorial will be separated into several sections. The main sections you are going to learn about are:
- Creating section structure and adding Blog module
- Customising Blog Module
Before we begin
Make sure to have at least two articles created with titles, content and featured images added.
Creating section structure
Add a new section and click Insert Column(s). Choose the first (blank) option.
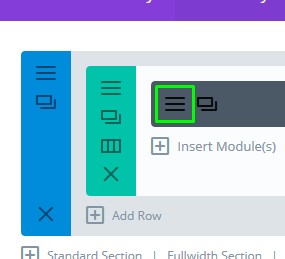
Then click Insert Module(s) and choose Blog.
For now leave the Blog module settings as it is, we are going to come back to that in a moment.
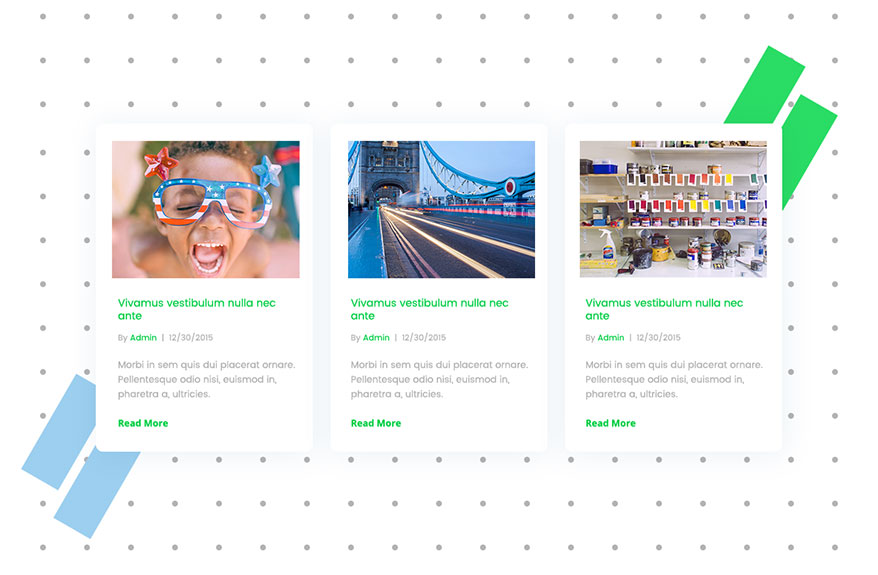
You section should now look like this:
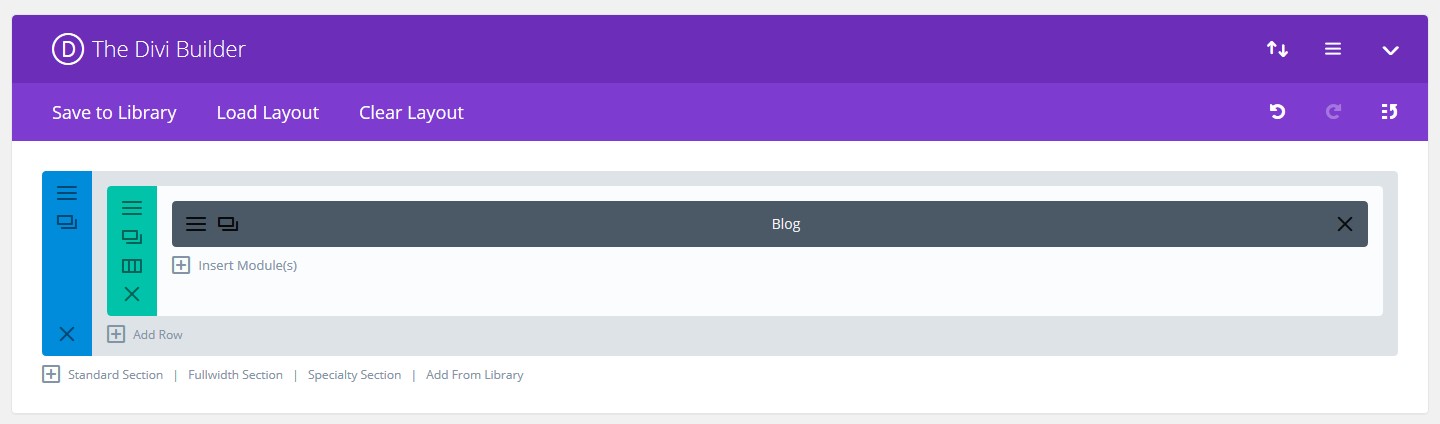
Blog section
Section settings
Let’s first edit some section settings. Click section settings icon:
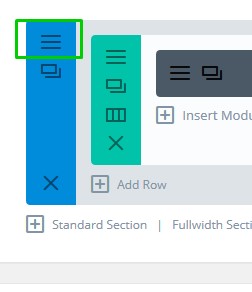
section settings
– First thing you can do is to update the section background. Use any image, gradient or solid colour you would like. Or, keep the background as it is (none/transparent).
If you decide to use this background image from example, also make the background image size Fit and position Top Center.
– Now select Design tab.
In spacing section, add 10vh value to Bottom Custom Padding.
– Select Advanced tab.
Assign this section a CSS class: day3-blog day3-blog1
– Click Save & Exit.
Row settings
Let’s also change a few Row settings. In your Divi page builder, click Row settings icon:
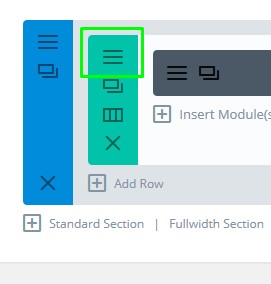
row settings
Select Design tab.
– Set Use Custom Width to Yes. Unit should be PX and Custom Width 1170px
– Set Equalize Column Height to Yes
– In Spacing section, add 3.2% Custom padding to Top, and 0px to Bottom padding.
– Click Save & Exit
Add CSS
Copy the CSS code below and see the instructions where and how to paste it.
.day3-blog article {
    border: none !important;
    padding: 40px 34px 45px !important;
    position: relative !important;
    background-color: #fff;
    cursor: pointer;
    box-shadow: 0px 4px 47px 0px rgba(160, 190, 212, 0.22);
}

.day3-blog .et_pb_image_container a {
    height: 100% !important;
    margin-bottom: 0 !important;
}

.day3-blog .et_pb_image_container a img {
    height: 100% !important;
    width: auto !important;
    max-width: none !important;
    z-index: 1000;
    left: 50%;
    transform: translate(-50%, 0);
    position: relative;
}

#page-container .day3-blog img.avatar {
   display: none !important;
}

.day3-blog .column.size-1of3 {
    border: 1px solid transparent;
}

/*Hovers*/

.day3-blog article:after,
.day3-blog article .et_pb_image_container a img,
.day3-blog article {
    -webkit-transition: all 0.4s ease-in-out;
    -moz-transition: all 0.4s ease-in-out;
    transition: all 0.4s ease-in-out;
}

.day3-blog article:hover:after {
    opacity: 1;
    transform: translateY(30px);
    -webkit-animation: shrink2 0.4s infinite; /* Safari 4.0 - 8.0 */
    animation: shrink2 0.4s infinite;
    animation-iteration-count: 1;
}

.day3-blog article:after {
    pointer-events: none;
    position: absolute;
    z-index: -1;
    content: '';
    top: 100%;
    left: 0;
    right: 0;
    height: 10px;
    width: 90%;
    opacity: 0;
    background: radial-gradient(ellipse at center, rgba(0, 0, 0, 0.15) 0%, rgba(0, 0, 0, 0) 70%);
    transition-duration: 0.4s;
    transition-property: transform opacity;
    visibility: visible;
    margin: auto;
}

.day3-blog article:hover {
    transform: translateY(-20px);

}

.day3-blog2 article .author.vcard a{
    color: #06d048 !important;
}
.day3-blog article:hover .author.vcard a,
.day3-blog article:hover .post-content,
.day3-blog article:hover .post-meta .categories,
.day3-blog article:hover .post-meta .published,
.day3-blog article:hover h2.entry-title {
    -webkit-animation: fadeIn .3s infinite; /* Safari 4.0 - 8.0 */
    animation: fadeIn .3s infinite;
    animation-iteration-count: 1;
}

@keyframes shrink2 {

    from, 20%, to {
        width: 15%;
    }

    30% {
        width: 25%;
    }

    40% {
        width: 35%;
    }

    50% {
        width: 45%;
    }

    60% {
        width: 55%;
    }

    70% {
        width: 65%;
    }

    80% {
        width: 75%;
    }

    90% {
        width: 85%;
    }

    100% {
        width: 100%;
    }
}

@-webkit-keyframes fadeIn {
    from {
        opacity: 0.5;
    }

    to {
        opacity: 1;
    }
}

@keyframes fadeIn {
    from {
        opacity: 0.5;
    }

    to {
        opacity: 1;
    }
}

.fadeIn {
    -webkit-animation-name: fadeIn;
    animation-name: fadeIn;
}

#page-container .day3-blog article .post-content{
    padding-left: 0.6vw;
    padding-right: 0.6vw;
}
/*Blog 1*/


#page-container .day3-blog1 .et_pb_posts a.more-link {
    color: #ff0f53!important;
}

#page-container .day3-blog .et_pb_posts a.more-link:hover{
    opacity: 0.6;
}


.day3-blog article:hover .post-meta a:hover{
    opacity: 0.6;
}

/*Columns Size*/

#page-container .day3-blog1 article:last-child {
    margin-right: 0 !important;
}

#page-container .day3-blog1 article {
    width: 48.5% !important;
    margin-right: 3% !important;
    float: left;
    border-radius: 10px !important;
}


/*Blog 2*/

#page-container .day3-blog2 article:last-child {
    margin-right: 0 !important;
}

#page-container .day3-blog2 article {
    width: 31.5% !important;
    margin-right: 2.7% !important;
    float: left;
    border-radius: 10px !important;
    padding: 30px 28px 34px !important;
}


#page-container .day3-blog2 .et_pb_posts a.more-link {
    color: #06d048!important;
}


/*Blog 2*/

#page-container .day3-blog3 article:last-child {
    margin-right: 0 !important;
}

#page-container .day3-blog3 article {
    width: 23.2% !important;
    margin-right: 2.4% !important;
    float: left;
    border-radius: 10px !important;
    padding: 28px 24px 30px !important;
}

/*Blog 3*/

#page-container .day3-blog3 article .entry-featured-image-url{
    margin-bottom: 25px !important;
}


/*Responsive*/

@media only screen and (min-width: 1930px) {

    .day3-blog{
        background-size: cover !important;
        background-position: top center !important;
    }
}
@media only screen and (min-width: 1391px) {
    #page-container .day3-blog .et_pb_ajax_pagination_container{
        display: flex !important;
    }
}
@media only screen and (max-width: 1390px) {
    #page-container .day3-blog3 article:nth-child(2n + 2){
        margin-right: 0 !important;
    }

    #page-container .day3-blog3 article {
        width: 48% !important;
        margin-right: 4% !important;
    }
}

@media only screen and (max-width: 980px) {
    #page-container .day3-blog .column {
        width: 100% !important;
        max-width: 400px !important;
        margin: 0 auto !important;
        float: none !important;
    }

    .day3-blog .et_pb_row{
        width: 90% !important;
    }
}

@media only screen and (max-width: 767px) {
    #page-container .day3-blog article{
        width: 100% !important;
        margin-right: 0 !important;
    }
}
Once copied, go to edit page screen and click settings icon:

Then paste the CSS inside the Custom CSS box:

Click Save and update the page.
Blog module settings
Now let’s do some fun! Let’s tweak module settings and we are done. In your Divi page builder, click Blog module settings icon:
Module settings
– Set Posts Number to 2
– Optionally, thick the blog categories you want to display here
– Set Meta Date Format to: m/d/Y
– Enable Read More Button
– Hide categories, hide comment count, hide pagination
Select Design tab
– In Title Text section, set Title font to Poppins and make it black
– Body Text should be Poppins too with the colour of: ##b3b3b3. Make body font size 16px
– Meta text should be Poppins, text alignment should be left. Size 14px and colour #b3b3b3
– In Spacing section, set all Custom Padding values to 0px
Select Advanced tab.
– Scroll down to Main Element and paste this CSS inside the box:
border: none !important;
– Scroll to Title: and paste this CSS inside the box:
font-weight: 500 !important;

margin-top: 35px;

line-height: 124%;

padding-bottom: 12px;

font-size: 18px;

padding-left: 0.6vw;
– In Post Meta, paste this:
margin-bottom: 19px;

padding-left: 0.6vw;

font-size: 14px !important;

text-transform: capitalize;
– Featured Image:
height: 234px;

overflow: hidden;
– Finally, for the Read More Button, paste this CSS:
font-family: Poppins;

font-size: 16px;

font-weight: bold;

color: #ff0f53 !important;

text-transform: capitalize;

margin-top: 23px;

display: block;