How to Style the Divi Theme Number Counter Module
Number counter
For Divi Theme and Divi Builder users. This free tutorial on How to Style Divi Theme Number Counter Module has been made to help you work more quickly and save you time and money. In an easy to follow tutorial that you can come back to any time you get stuck you will find useful ‘how to’ instructions.
Introduction
In this tutorial, you will learn how to create good looking Divi Theme Number Counter module. The tutorial will be separated into several sections. The main sections you are going to learn about are:
- Creating section structure and adding Number Counter module
- Customising Section, Row and Number Counter Module
Section structure
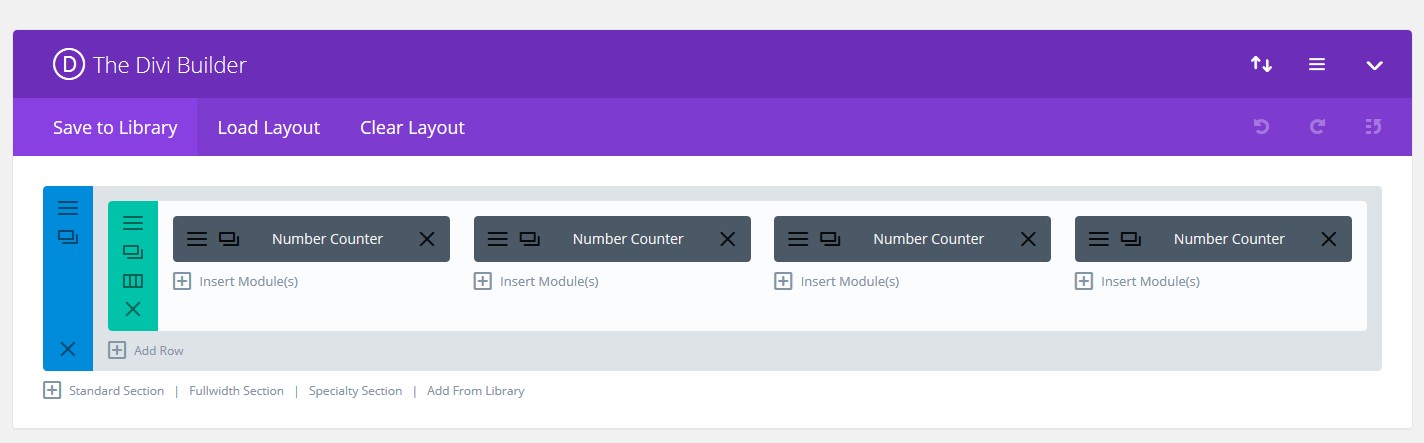
– Create a new section and add a 1/4 + 1/4 + 1/4 + 1/4 row.
– In each column add a Number Counter module. Leave modules settings as it is for now, as we will cover that later.
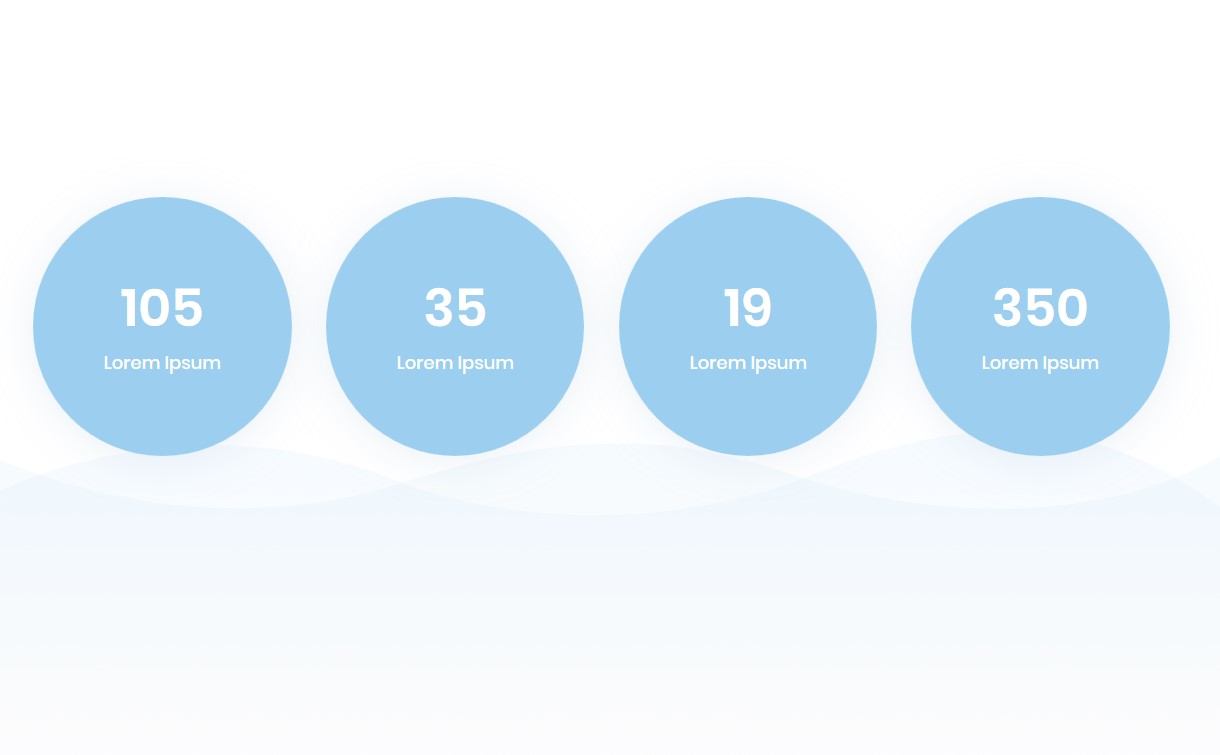
Your section should now look like this:
Number Counter modules section
Section settings
Let’s first edit some section settings. Click the section settings icon:
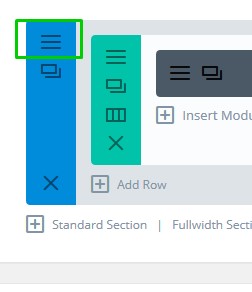
section settings
– Add a background to the section. You can add the background image used in our demo page: LINK. However, you can add your own image if you prefer, or you can use a gradient or a solid colour. You can even keep it as it is and your section will not have a background (it will use website background instead).
– If you are using image from the demo, also set the Background Image size to Fit, Bottom Center.
Select Design tab.
– In Spacing section, add 20vh to Top, and 10vh to Bottom Custom Padding. Leave margins blank.
Select Advanced tab.
– Assign this section a CSS class name: day4-nc day4-nc3
– Save & Exit
Row settings
Now, let’s open Row settings:
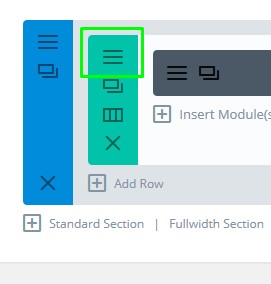
row settings
In Content tab:
– Make background colour of each column #9ccfef
In Desgin tab:
– Use Custom width – Set to Yes. Make the custom width 1170px
– Use Custom Guter width – Set to Yes. Set Gutter width to 2
– In Spacing section, add 30vh to Bottom Custom Padding
In Advanced tab:
– Scroll to Column1 Main Element and add this CSS there:
border-radius: 50% !important;

box-shadow: 0px 4px 47px 0px rgba(160,190,212,0.22);
Add same CSS code for “Column2 Main Element”, “Column3 Main Element” and “Column4 Main Element:”
– Click Save & Exit
Add CSS
Before moving to modules settings, let’s add CSS to this page.
Click page settings icon:

Inside Custom CSS box, paste the following CSS code:
/*Numers 3*/

#page-container .day4-nc3 .et_pb_column:after {
    content: "" !important;
    display: block !important;
    width: 100%;
    padding-top: 100%;
}

@media only screen and (min-width: 1930px) {
    .day4-nc{
        background-size: cover !important;
        background-position: top center !important;
    }
    .day4-nc1 .et_pb_column .et_pb_number_counter {
        padding: 30px !important;
    }

    .day4-nc2 .et_pb_column {
        padding: 60px 20px !important;
    }
}

@media only screen and (max-width: 1390px) {
    .day4-nc .et_pb_row {
        width: 90% !important;
    }

    .day4-nc1 .et_pb_number_counter h3 {
        padding-top: 6px !important;
        padding-left: 3% !important;
        text-transform: capitalize !important;
        min-width: 90px;
    }

    .day4-nc .et_pb_number_counter .percent p {
        font-size: 52px !important;
    }
}

@media only screen and (max-width: 980px) {

    .day4-nc .et_pb_column_1_4:after {
        display: none !important;
    }

    .day4-nc1 .et_pb_number_counter {
        padding: 30px !important;
    }

    .day4-nc .et_pb_number_counter {
        display: block !important;
    }

    .day4-nc .et_pb_number_counter h3 {
        text-align: center !important;
        padding-left: 0 !important;
        display: block !important;
    }

    .day4-nc .et_pb_number_counter .percent {
        height: auto;
        display: block !important;
        text-align: center !important;
    }

    .day4-nc .et_pb_number_counter .percent p {
        text-align: center !important;
    }

    #page-container .day4-nc2 .et_pb_column:last-child {
        margin-bottom: 0 !important;
    }

    #page-container .day4-nc2 .et_pb_column {
        max-width: 500px;
        margin: 0 auto 30px !important;
        float: none;

    }

}

@media only screen and (max-width: 767px) {
    .day4-nc1 .et_pb_number_counter {
        padding: 30px 20px !important;
    }
}

@media only screen and (max-width: 480px) {
    #page-container #main-content .day4-nc3 .et_pb_column_1_4 {
        max-width: 300px;
        margin: 0 auto 30px !important;
    }

}
Number Counter modules settings
Content tab:
– Add the Title
– Add the Number
– Optionally enable or disable Percent Sign. For this example, I’ll keep it off.
Design tab:
– Set Title text to Poppins, Medium, 19px, center aligned, white
– Set Number Text to Poppins, Semi Bold, 72px, center aligned, white
Advanced tab:
– Scroll to Main Element and paste this CSS:
position: absolute;

width: 100%;

top: 50%;

transform: translate(0,-50%);
– In Number Counter Title box, paste this CSS:
margin-top: -10px;
– Click Save & Exit
Cloning modules
Now that you have edited module settings, so you don’t have to do the same for other three, you can just duplicate the one you are done with, by clicking “Clone module” option:
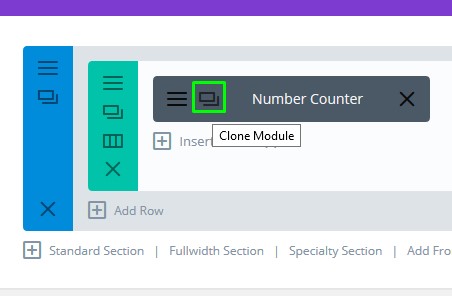
Clone module
Use drag&drop to move duplicated modules in the right place.
That’s all!